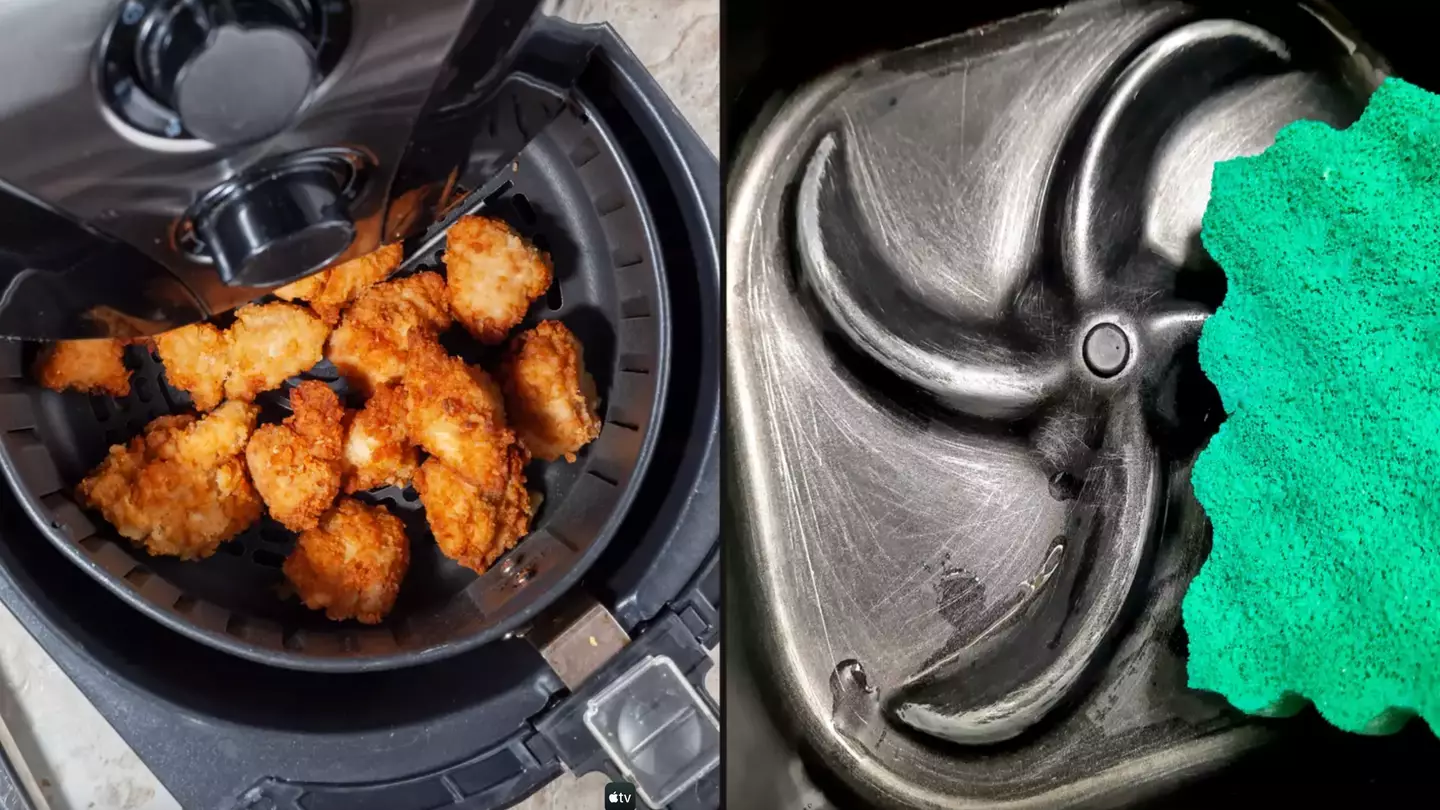
You might be pretty smug about having yours for a while now, but air fryers have absolutely rocketed in popularity over recent years.
One scroll on TikTok and you’re flooded with recipes showing off hacks and delicious dishes that can be whipped up using the nifty appliance.
But while you might love banging on about how great it is, are you showing your air fryer the same amount of TLC that it gives to you?
Be honest, I bet the cheese-crusted, crumb filled tray just sits there on the worktop whilst you munch away on your parmesan-baked halloumi fries or 'healthy' cheese frittata.
Advert
Look, we're all guilty of casting it aside, aren't we? Sometimes even forgetting to clean it until it's next needed.
Yet it's vital to stay on top of cleaning your air fryer after every single wash, with proper care ensuring that your device lasts longer.

According to BBC Good Food, the basket of the air fryer should be cleaned every time it is used to be sure that dirt and grime doesn't become baked onto it.
Small crumbs can also become baked onto the inside of the appliance very easily, so they'll need to be scraped out after every use.
Advert
The BBC recommends, however, that you only give the unit and the coil of your air fryer a deep clean every now and again.
You'll only need a handful of household items to clean your air fryer: some washing up liquid, baking soda, all-purpose cleaner, an old toothbrush and a soft sponge/cloth.
To clean it between every use, firstly, make sure your air fryer is turned off at the wall. We don't want any trips to A&E…

And if you've only just cooked something in it, allow time for the device to cool down.
Advert
Then, take all the removable parts of the air fryer out, and detach the component parts, cleaning each part with warm water and washing up liquid, using the soft side of the sponge/cloth, making sure to get into every gap in the basket.
Caution: if you use the rough side of the sponge, you risk damaging the non-stick coating of your air fryer!
When it comes to the burned-on crumbs that you're struggling to remove with the sponge, make a paste of baking soda and water, placing it onto the stubborn bits.
Leave this on for around 20 mins, or, if you're in a rush, gently buff the solution with a toothbrush. Lastly, just rinse out the component parts and leave it to try.
And voila, you've got a good-as-new air fryer sitting on your kitchen counter ready to be used for your scran all over again!
Topics: Home, Lifestyle, Food And Drink